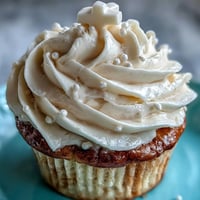
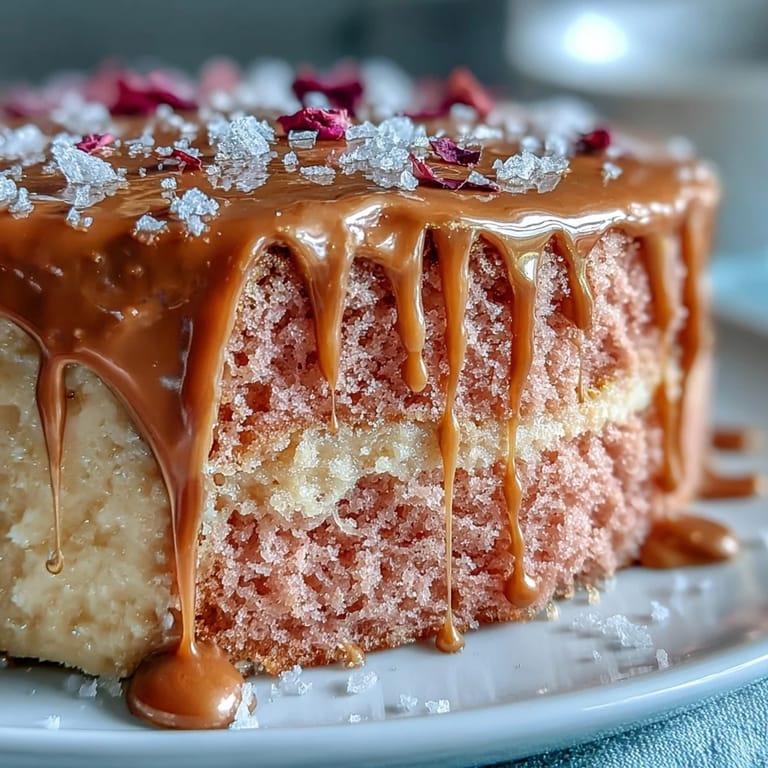
 Save
Save The first time I saw a rosé velvet cake dressed in shimmering gold at a friend’s spring bridal shower, the room fell hushed—everyone was mesmerized by its blush hue and elegant finish. The fragrance of vanilla and wine mingling with the sweet scent of buttercream filled the air as we waited for the bride to cut the first slice. Planning my own twist on that cake, I set out one golden afternoon, determined to perfect the lush crumb and glistening drip, with rosé as both muse and ingredient. Whisking the batter while Beyoncé played in the background, I ended up with hands dusted in flour and cheeks smudged pink from food coloring, but the anticipation made every step delightful. There’s something playful yet celebratory about transforming a classic velvet cake for such meaningful gatherings.
On the morning of my cousin’s bridal shower, I snuck into my kitchen before sunrise, layering cakes while the house was still quiet and the sun just peeking through the window. The soft thud of cake rounds stacking and the gentle scraping of an offset spatula felt like secret accompaniments to the day’s excitement, making every swirl of buttercream a little wish for joy.
Ingredients
- All-purpose flour: Sift it for a tender, even crumb; I learned clumpy flour works against that signature velvet softness.
- Granulated sugar: This sweet foundation balances the tart rosé and brings the cake layers to life.
- Baking soda: Don’t skip this–it reacts with the acid for height and keeps the texture plush.
- Fine salt: Just a bit—a must for enhancing all the delicate flavors.
- Cocoa powder (unsweetened): Just enough for depth; use a fresh tin for pure chocolate undertones.
- Vegetable oil: Essential for super-moist cake—don’t substitute with butter if you want that melt-in-your-mouth effect.
- Large eggs (room temperature): Cold eggs can seize your batter; warmth helps everything mix luxuriously.
- Buttermilk (room temperature): The tang brings out the rosé and keeps things incredibly light.
- Rosé wine: Pick something dry and floral—you’ll taste both the bouquet and the story of the wine.
- Vanilla extract: Rounds out the rosy notes and brings comforting depth.
- White vinegar: Works magic with soda for lift; it disappears but leaves the perfect texture.
- Pink or rose gel food coloring: Gel creates vivid color without thinning batter—build the shade drop by drop.
- Unsalted butter (room temperature): Cream it well for dreamy buttercream; cooler butter won’t whip up light.
- Powdered sugar (sifted): Keep it lump-free for silky, cloudlike frosting.
- Heavy cream: The trick for a glossy, smooth drip—add just enough for a pouty effect.
- White chocolate chips: The base for the gold drip; choose good quality for easy melting.
- Edible gold luster dust: Absolutely essential—always check it’s food-safe and edible for peace of mind.
- Vodka or clear lemon extract: These set the gold into a brilliant, quick-drying paint and won’t add taste.
Tired of Takeout? 🥡
Get 10 meals you can make faster than delivery arrives. Seriously.
One email. No spam. Unsubscribe anytime.
Instructions
- Prepare the pans and preheat:
- Heat your oven to 350°F (175°C) and line three 8-inch pans with parchment, then grease all over so nothing sticks and cleanup is a breeze.
- Sift the dry ingredients:
- Combine flour, sugar, baking soda, salt, and cocoa in a wide mixing bowl—let the powdery clouds give way to a uniform base.
- Mix the wet ingredients:
- In another bowl, whisk oil, eggs, buttermilk, rosé, vanilla, and vinegar until smooth, enjoying the faintly fizzy aroma from the wine.
- Join wet and dry with color:
- Pour wet into dry and stir just until creamy; add food coloring bit by bit until the batter turns a delicate pink that makes you smile.
- Bake the cakes:
- Divide batter into pans, tap them lightly, then bake 30-35 minutes—your kitchen should soon smell like a bakeshop with a hint of fruit.
- Cool and release:
- Let cakes rest 10 minutes, then gently turn them onto a rack and let cool completely to avoid melted buttercream drama.
- Make the rosé buttercream:
- Cream butter until fluffy, then beat in powdered sugar cup by cup, followed by rosé, vanilla, and a pinch of salt for a lush, smooth frosting.
- Assemble and chill:
- Level cakes if needed, stack with buttercream, apply a crumb coat, then chill 20 minutes so everything firms up.
- Final buttercream finish:
- Add the last layer of buttercream and smooth with an offset spatula—the cake should look soft and satin-like.
- Craft the gold drip:
- Melt white chocolate chips and cream, stir until glossy, then cool; meanwhile, mix luster dust with vodka to create edible gold paint.
- Drizzle and paint:
- Pour the cooled white chocolate over the cake edge, nudge gently for those elegant drips, then brush the set drips with the shimmering gold paint.
- Finish and decorate:
- Adorn with more edible gold, fresh rose petals, or berries if desired—bask in how breathtaking your creation looks.
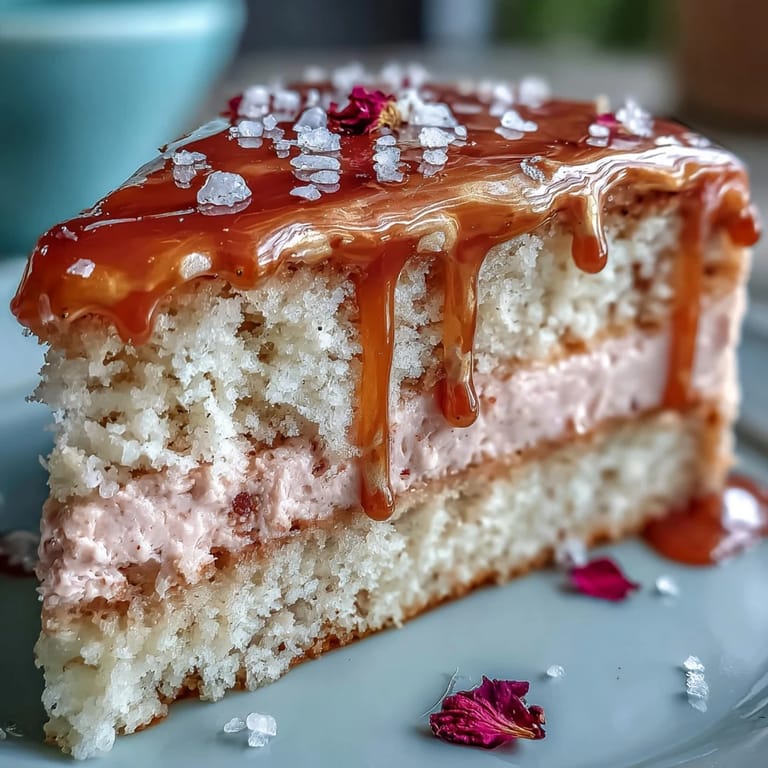 Save
Save Watching the joy spark in the bride’s eyes as she admired the cake—uncertain, at first, whether it was real—turned baking into something almost magical that day. It was the hush that followed, then the gleeful cheers when the first forkful revealed silky pink layers, that made me realize how a homemade dessert can become a centerpiece for celebration.
Making It Ahead Without Stress
I learned quickly that this cake handles an overnight chill with grace—assemble and crumb coat the night before, then finish frosting and decorating the next morning. The flavors actually deepen as it rests in the fridge, and decorating cold cake is so much simpler.
Gold Drip Without the Fuss
I used to worry the gold drip would be messy, but letting the white chocolate cool until thick but pourable changed everything—no frantic dripping down the sides. A light touch with the paintbrush over set drips gives that coveted gilded look without smearing.
Small Touches That Elevate the Cake
Fresh edible rose petals, a scattering of gold leaf, or a handful of raspberries instantly make this cake look like it belongs at a designer bakery. Staggering heights when stacking and smoothing the buttercream with a hot spatula add a level of polish that always gets compliments, even from the perfectionists.
- Keep a clean, food-only brush for the gold—never a craft brush.
- Fluff buttercream with a few extra seconds of mixing for cloudlike texture.
- Always bring chilled cake to room temperature before serving for the softest bite.
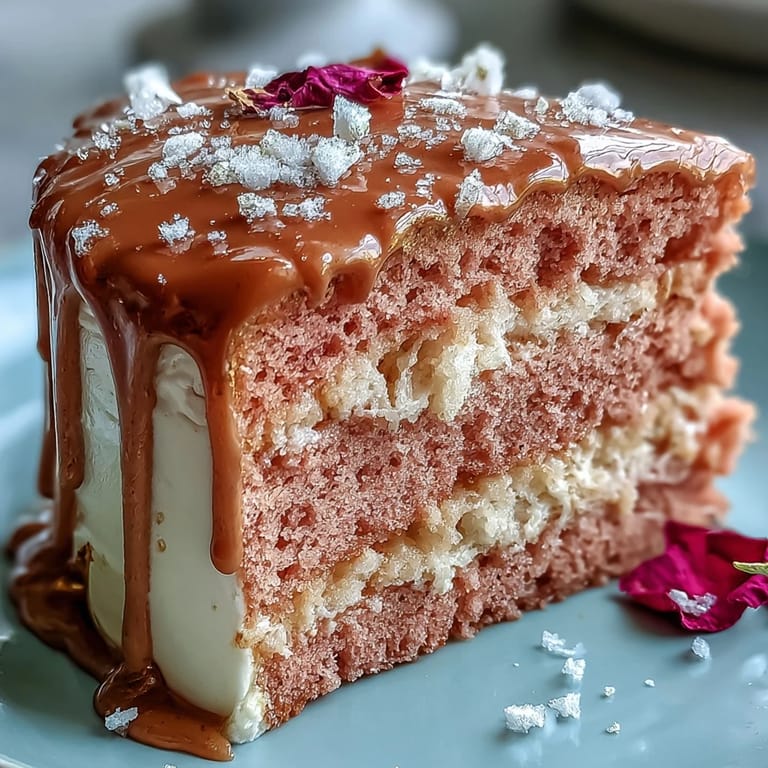 Save
Save Bringing this cake to the table always brings a ripple of excitement—there’s simply nothing like seeing artistry and happiness slice into every piece. Savor every bite and every compliment; you’ve earned them.
Recipe FAQs
- → Can I substitute the rosé with a non-alcoholic option?
Yes. Use a high-quality non-alcoholic rosé alternative or pink grape juice; reduce slightly to avoid excess liquid and maintain batter consistency. Adjust buttercream liquid by adding the substitute a teaspoon at a time until desired texture.
- → How do I get an even gold drip without running?
Cool the white-chocolate drip until slightly thickened before applying; test a small amount on the edge first. Chill the cake after a thin crumb coat so the drip sets quickly and stays in place. Paint the gold luster on set drips for precise coverage.
- → How can I stabilize the rosé buttercream for warm conditions?
Increase powdered sugar slightly, chill the buttercream briefly before use, and avoid overbeating. For very warm environments, substitute part of the butter with stable vegetable shortening and keep the cake refrigerated until service.
- → What’s the best way to level and stack the layers?
Use a serrated knife or cake leveler to remove domes, then place each layer on a flat board before spreading an even layer of buttercream. Rotate on a turntable for smooth, consistent layers and use an offset spatula to create an even finish.
- → Is edible gold luster dust safe to use?
Only use products labeled edible. Mix luster dust with a food-safe solvent like clear lemon extract or vodka for painting. Avoid non-edible metallic paints and confirm vendor safety information if serving to guests with sensitivities.
- → How far ahead can this be made and how should it be stored?
Assemble and chill the cake up to one day ahead; store covered in the refrigerator. Bring to room temperature before serving for best texture and flavor. If making components ahead, keep buttercream and layers refrigerated separately and assemble on the day of service.