 Save
Save My friend texted me three days before her daughter's graduation asking if I could bring something special, something that would make people smile. I was standing in my kitchen staring at cream cheese when it hit me—tiny cheesecakes with little diploma picks, like edible celebrations you could hold in your hand. The idea felt both silly and perfect, so I tested the recipe that same afternoon and haven't stopped making them since.
I'll never forget watching a nervous college graduate pick up one of these bites, diploma pick and all, and her whole face lit up like someone had just handed her the world on a tiny plate. Her mom cried, which wasn't what I expected, but it made me realize these weren't just desserts—they were edible permission to celebrate something hard-won.
Ingredients
- Graham cracker crumbs: The foundation that keeps everything grounded with subtle sweetness; make sure they're fine and evenly sized so the crust presses down like sand.
- Granulated sugar (for crust): Just enough to brighten the buttery notes without overpowering the filling.
- Unsalted butter, melted: This binds everything together and gives you that irresistible toasted flavor—don't skip the melting step.
- Cream cheese, softened: Room temperature is absolutely crucial here; cold cream cheese will give you lumps and a dense texture that fights against everything you're trying to achieve.
- Granulated sugar (for filling): Beat this with the cream cheese until it's completely smooth and pale, almost fluffy.
- Egg: Just one keeps the filling tender and prevents it from becoming rubbery; add it gently and don't overmix once it's in.
- Vanilla extract: A small whisper of vanilla that makes people taste comfort without knowing why.
- Sour cream: This is the secret to that tangy cheesecake flavor and a slightly looser crumb; it's worth buying the real thing.
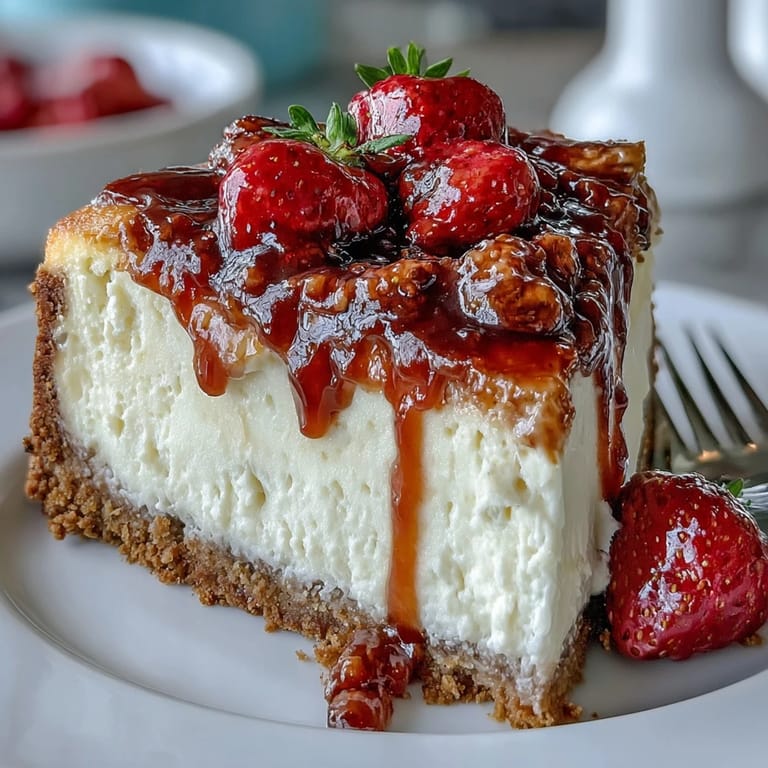
- Fresh mixed berries: Dice them small so they nestle into the top without rolling off; you can use blueberries, raspberries, or strawberries depending on the season.
- Fruit preserves (optional): A thin brush of warmed preserves over the berries gives them a jewel-like shine that screams celebration.
- Diploma picks: These are the showstopper; you can buy graduation-themed picks or make your own with cardstock and twine.
Tired of Takeout? 🥡
Get 10 meals you can make faster than delivery arrives. Seriously.
One email. No spam. Unsubscribe anytime.
Instructions
- Set yourself up for success:
- Preheat your oven to 325°F and line your mini muffin pan with 24 liners. I learned the hard way that skipping the liners means fighting with your nails to get these out afterward.
- Build the crust:
- Mix graham cracker crumbs, sugar, and melted butter in a bowl until it looks like damp sand. Spoon a teaspoon into each liner and press down firmly with your finger or the back of a measuring spoon—you want it compact and even so the filling sits level.
- Toast the foundation:
- Bake the crusts alone for 5 minutes, then let them cool slightly on the pan. This step sounds small but it sets the texture and keeps everything from getting soggy later.
- Create the magic filling:
- Beat softened cream cheese and sugar together in a large bowl until it's completely smooth and pale, about 2 minutes. Add the egg, vanilla, and sour cream, then blend just until combined—overmixing introduces air bubbles that can cause cracks.
- Fill and bake:
- Spoon about a tablespoon of filling over each crust, smooth the tops gently, and bake at 325°F for 13 to 15 minutes. You're looking for centers that are set but still have just a tiny shimmy when you jiggle the pan—they'll continue cooking slightly as they cool.
- Cool with patience:
- Leave them in the pan for 15 minutes so they don't crack, then transfer to a wire rack. The hardest part is waiting the full hour in the refrigerator, but this chill time is when the texture becomes silky and perfect.
- Top with intention:
- Once chilled, crown each bite with a few fresh berries. If you want extra glamour, warm the fruit preserves and brush a light coat over the berries for that glossy, professional look.
- Add the celebration:
- Right before serving, gently insert a diploma pick into the top of each cheesecake bite. They're the edible confetti that tells people this is a moment worth remembering.
 Save
Save There's something about watching people share these bites at a celebration that makes you understand why we bake in the first place. It's not really about the dessert; it's about saying without words that someone's moment matters enough to get fancy about.
Why These Work for Celebrations
Mini desserts have this magical quality where people feel like they're treating themselves without the guilt, which means they'll actually eat one instead of politely declining. They're also forgiving enough for a beginner but impressive enough that no one will guess how simple they were to make.
Storage and Make-Ahead Strategy
You can make the crusts a day ahead and store them covered at room temperature, then fill and bake them the morning of your event. Once they're chilled, they'll keep refrigerated in an airtight container for up to three days, though the crust stays crispest if you add the berries and picks within a few hours of serving.
Flavor Variations to Try
Once you've mastered the basic version, you can start playing. A teaspoon of lemon zest mixed into the filling adds brightness, or try swirling a bit of chocolate into the top before baking for a more decadent bite.
- Lemon zest brings a fresh tang that pairs beautifully with berry toppings.
- A chocolate swirl melted into the filling adds richness without changing the texture.
- For fall celebrations, try pumpkin puree mixed into the filling with a cinnamon sugar topping instead of berries.
 Save
Save These little bites have a way of turning ordinary moments into celebrations, one creamy, berry-topped spoonful at a time. Make them for someone's big day and watch how quickly they become the thing people remember most.
Recipe FAQs
- → How do I prevent the crust from becoming soggy?
Bake the graham cracker crust for 5 minutes before adding the filling to help it set and stay crisp.
- → Can I make these bites gluten-free?
Use gluten-free graham cracker crumbs as a substitute to create gluten-free cheesecake bites.
- → What is the best way to achieve a smooth filling texture?
Beat the cream cheese and sugar until smooth before adding egg, vanilla, and sour cream for a creamy, even filling.
- → How long should I chill these bites before serving?
Chill cheesecake bites for at least 1 hour to let them set and develop their creamy texture.
- → Can I use other toppings besides berries?
Yes, try lemon zest or a chocolate swirl for different flavors, or brush fruit preserves for added shine.