 Save
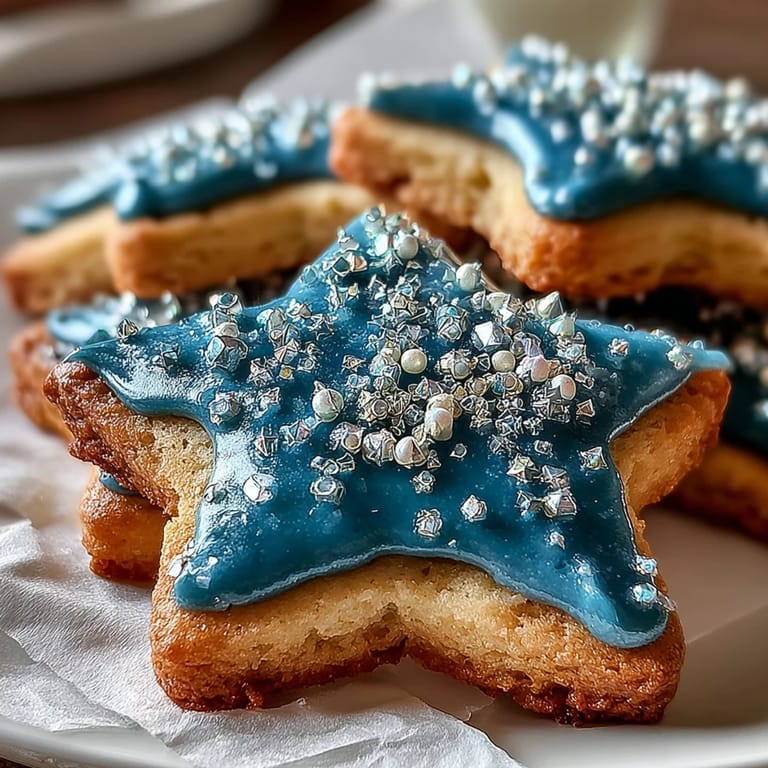
Save Unwrapping the warmth of freshly baked cookies transports me to a summer afternoon filled with laughter and creativity. It was during a zodiac-themed birthday party when I decided to make these Gemini Zodiac Cookies, each one a whimsical tribute to the duality of this sign. The moment I pulled the first tray from the oven, the buttery scent mingled with the unmistakable sweetness and made the entire house feel like home. Friends eagerly gathered around, and there was an electric excitement in the air as we decorated each cookie together, bringing the stars to life with royal icing. It was a delightful harmony of flavors and fun, all ignited by a sprinkle of edible glitter!
The first time I made these cookies was for my best friend's birthday, and we laughed as we tried to figure out the right colors to embody the Gemini spirit. The kitchen was filled with chatter and the sound of laughter, and without even realizing it, we created a small cookie production line. I vividly recall one cookie that turned out slightly lopsided after one too many giggles—it was unofficially dubbed the 'Gemini Special.' This silly mistake turned into a cherished memory and a reminder that perfection isn’t necessary for joy!
Ingredients
- 2 1/4 cups all-purpose flour: This is the backbone of our cookies, providing structure and stability for all that buttery goodness.
- 3/4 cup unsalted butter: Make sure it’s softened; this creaminess is what makes the dough so lovely to work with.
- 3/4 cup granulated sugar: Sweetens the deal, helping the cookies melt in your mouth.
- 1 large egg: This vital ingredient brings everything together, enriching the dough.
- 2 teaspoons pure vanilla extract: A splash that elevates the flavor, transforming ordinary into extraordinary.
- 2 cups powdered sugar: Essential for making that dreamy royal icing that tops our cookies with sparkle.
Tired of Takeout? 🥡
Get 10 meals you can make faster than delivery arrives. Seriously.
One email. No spam. Unsubscribe anytime.
Instructions
- Prepare the Dry Ingredients:
- In a medium bowl, whisk together the flour, baking powder, and salt until well combined. This creates the perfect base for your cookies.
- Cream the Butter and Sugar:
- In a large bowl, beat the softened butter and sugar together until light and fluffy, about 3 minutes. The transformation is magical; the mixture will become pale and airy.
- Add the Egg and Extracts:
- Mix in the egg, vanilla extract, and lemon zest if using, beating until everything is fully incorporated. This step infuses the dough with richness and brightness.
- Combine Dry and Wet Ingredients:
- Gradually add the dry mixture to the wet ingredients and mix until a dough forms. It should be soft yet slightly sticky, perfect for rolling out.
- Chill the Dough:
- Divide the dough into two disks, wrap them in plastic, and let them chill in the fridge for at least 30 minutes. This helps the cookies maintain their shape.
- Roll Out and Cut:
- Preheat your oven to 350°F and line baking sheets with parchment paper. Roll out the chilled dough on a lightly floured surface, cut out shapes, and transfer them to your baking sheets.
- Bake to Perfection:
- Bake the cookies for 10–12 minutes or until the edges are just golden. Once out of the oven, let them cool for a couple of minutes before moving them to a wire rack.
- Make the Royal Icing:
- In a clean bowl, whisk together the powdered sugar, meringue powder, and warm water to reach a piping consistency. Adjust with more water if it’s too thick.
- Decorate with Flair:
- Divide and color the icing as desired, then pipe it onto the cooled cookies, adding any extra sparkle with glitter or sugar pearls. Let the icing set completely before serving!
 Save
Save  Save
Save Making these cookies is like creating edible art, turning a simple recipe into a joyful gathering spot for friends and family. I remember when I gifted a batch to a neighbor—I was instantly humbled when she shared how they brightened her day amidst a tough week.
Decorating Gems
Let loose your creativity while decorating! Use a toothpick to create designs if you don’t have piping tips available, and remember that the more stars, the better—they’re the essence of Gemini!
Pairing Suggestions
These cookies are delightful with a hot cup of tea or paired with a glass of milk, making each bite even more comforting and special.
Storage & Serving
Store these cookies in an airtight container for up to a week. They also freeze beautifully, allowing you to savor the stars whenever you like!
- Consider icing as a fun family activity.
- For extra crunch, experiment with optional almond extract.
- Pairing them with seasonal drinks can elevate the experience.
 Save
Save 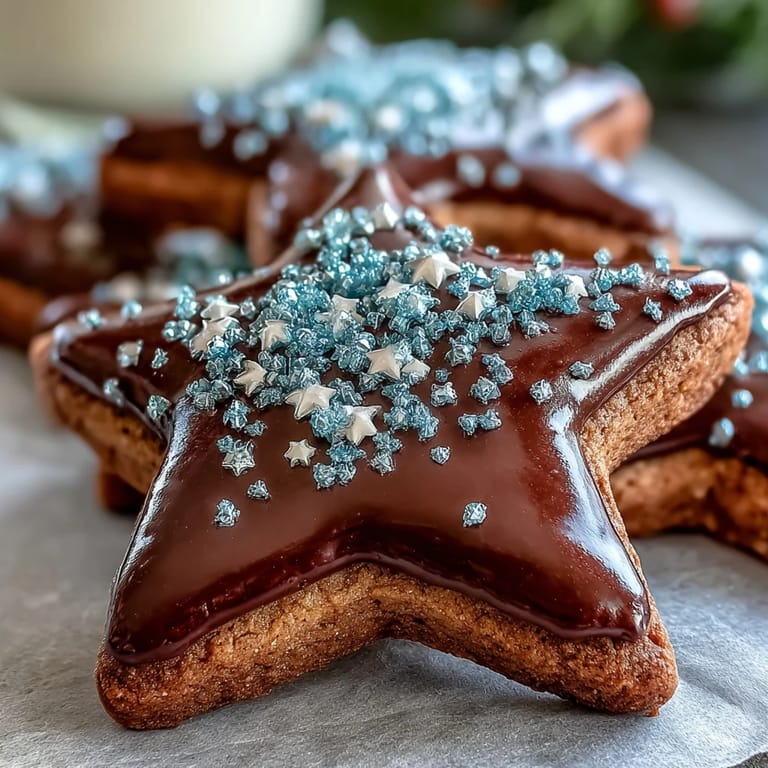 Save
Save These Gemini Zodiac Cookies are more than just treats—they're a celebration of spirit and creativity, perfect for sharing with loved ones. Each cookie captures the joy of togetherness, inviting laughter and love with every bite.
Recipe FAQs
- → What makes these cookies unique?
These cookies are inspired by the Gemini zodiac sign, making them perfect for themed parties or celebrations. Their duality is reflected in their whimsical design and delicious flavor.
- → Can I use different colors for the icing?
Absolutely! Feel free to use gel food coloring in any celestial tones that match your theme. The possibilities for decoration are endless!
- → How long do the cookies last?
When stored in an airtight container, these cookies can stay fresh for up to a week. Make sure the icing is completely set before stacking them.
- → Can I make these cookies ahead of time?
Yes! The dough can be prepared and refrigerated up to 2 days in advance. The royal icing can also be made up to one day ahead.
- → What types of events are these cookies suitable for?
Perfect for birthdays, zodiac-themed parties, or any celestial celebration guests will love these whimsical treats!