 Save
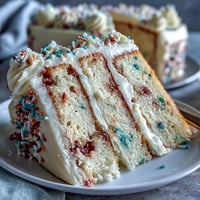
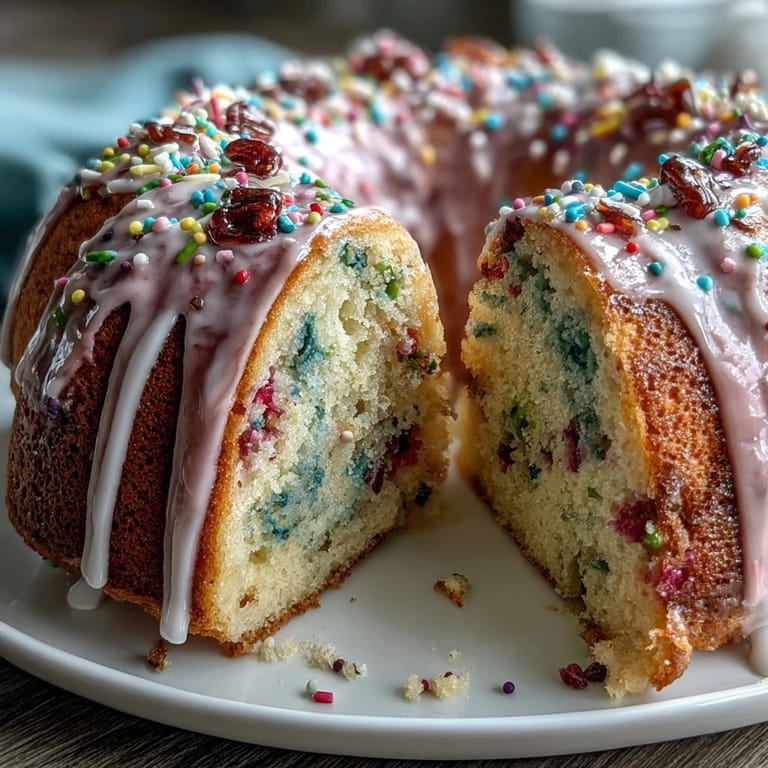
Save My neighbor knocked on my door one April afternoon with a box of pastel sprinkles and a wild idea for her daughter's birthday party. We'd never baked a celebration cake together before, but something about the soft colors and the promise of a simple vanilla base felt like the perfect spring project. That afternoon taught me that the best cakes aren't always complicated—sometimes they're just about capturing a mood, a season, and the joy of color catching the light as you slice into it.
I'll never forget pulling this cake out of the oven for the first time and hearing my neighbor's gasp when she saw the speckled crumb. The sprinkles had stayed vibrant, the cake rose evenly, and when we frosted it with those soft pastel colors swirled together, it genuinely looked like something out of a spring fever dream. Watching people's faces when they bit into that first slice—tasting vanilla, seeing color, feeling the lightness of it all—made me understand why some desserts become memories instead of just food.
Ingredients
- All-purpose flour (2 1/2 cups): The foundation that needs to be whisked together with the leavening agents so you don't get dense pockets—I learned this by making one batch where I skipped this step and regretted it immediately.
- Baking powder and baking soda (2 1/2 tsp and 1/2 tsp): The balance between these two is what gives you that light, tender crumb that melts on your tongue rather than feeling heavy.
- Salt (1/2 tsp): A small amount that quietly makes everything taste more like itself, not salty, just... awake.
- Unsalted butter (1 cup, room temperature): Room temperature is non-negotiable here—cold butter won't cream properly and your cake will suffer for it.
- Granulated sugar (1 1/2 cups): Beating this with butter for a full three minutes creates tiny air pockets that make the cake fluffy, not dense.
- Eggs (4 large, room temperature): Room temperature eggs incorporate smoothly and help create that tender structure—cold ones make the batter break and separate, which I discovered the hard way.
- Pure vanilla extract (2 tsp): The vanilla does the heavy lifting here, so use the real thing and not the imitation kind.
- Whole milk and sour cream (1 cup and 1/2 cup, room temperature): The sour cream adds moisture and a subtle tang that keeps the cake tasting fresh, not overly sweet.
- Rainbow sprinkles—jimmies, not nonpareils (2/3 cup): The shape matters more than you'd think; jimmies stay vibrant while tiny nonpareils bleed color into the batter and turn everything muddy.
- Unsalted butter for frosting (1 1/2 cups, room temperature): This needs to be properly softened so it whips into clouds instead of staying greasy.
- Powdered sugar, sifted (5 cups): Sifting removes lumps and makes the frosting smooth and lump-free, which takes a minute but makes all the difference.
- Whole milk (1/4 cup): This thins the buttercream just enough so it pipes beautifully without being runny.
- Food coloring gels in pastel shades: Gel coloring won't water down your frosting the way liquid food coloring does, keeping the texture perfect.
Tired of Takeout? 🥡
Get 10 meals you can make faster than delivery arrives. Seriously.
One email. No spam. Unsubscribe anytime.
Instructions
- Prep your pans and heat your oven:
- Set the oven to 350°F and grease those cake pans while lining them with parchment paper—this double protection means your cake will release cleanly. I always let the oven preheat while I'm gathering ingredients so there's no rushed feeling once you're ready to bake.
- Combine your dry ingredients:
- Whisk the flour, baking powder, baking soda, and salt together in a medium bowl until they're evenly distributed—this prevents pockets of baking soda from creating weird metallic tastes. It's a small step that feels invisible but completely changes the final flavor.
- Cream butter and sugar into light clouds:
- Beat the room-temperature butter and sugar together for a full three minutes until it looks pale and fluffy like you could sink your finger into it. This step is where the magic happens—you're literally whipping air into the butter, and that air becomes the lift in your cake.
- Add eggs one at a time with patience:
- After each egg, beat well so it fully incorporates before adding the next one—if you add them all at once, the batter can look curdled and broken. Then mix in the vanilla extract and breathe; you're almost there.
- Mix the wet ingredients together separately:
- Whisk the milk and sour cream together in a separate bowl so they're ready to go—this prevents you from overmixing the batter later.
- Layer and alternate your mixtures carefully:
- Add the flour mixture and milk mixture in three parts each, starting and ending with flour, mixing just until combined after each addition. Overmixing activates the gluten and makes your cake tough, so stop when you can barely see any white streaks of flour.
- Fold in those colorful sprinkles gently:
- Use a spatula to fold them in so they're distributed throughout but the batter stays light—I've made the mistake of stirring vigorously and ending up with a slightly marbled batter instead of those little pockets of color throughout.
- Divide and smooth your batter:
- Pour the batter evenly between the two prepared pans and smooth the tops with a spatula so they bake evenly.
- Bake until golden and set:
- Bake for 28 to 32 minutes, checking around the 28-minute mark by inserting a toothpick into the center—when it comes out clean or with just a few crumbs, you're done. Every oven is different, so go by the toothpick test rather than time.
- Cool with purpose:
- Let the cakes sit in their pans for 10 minutes so they set slightly, then carefully turn them onto a wire rack to cool completely—this prevents them from cracking or breaking apart.
- Cream your frosting butter until smooth:
- Beat the room-temperature butter alone for about two minutes until it's pale and creamy with no lumps—this is your clean slate.
- Add powdered sugar gradually without creating clouds:
- Mix on low speed as you add the sifted powdered sugar slowly so you don't get a sugar explosion all over your kitchen—a lesson I learned the loud way.
- Thin and fluff your frosting:
- Add the milk, vanilla, and salt, then beat on high for 2 to 3 minutes until the frosting is fluffy and light enough to pipe or dollop beautifully.
- Divide and tint your frosting into pastels:
- Split the frosting into four bowls and add just a tiny drop of each gel color—pastel shades need restraint or they'll look neon and bold instead of soft and spring-like.
- Decorate with color and swirl:
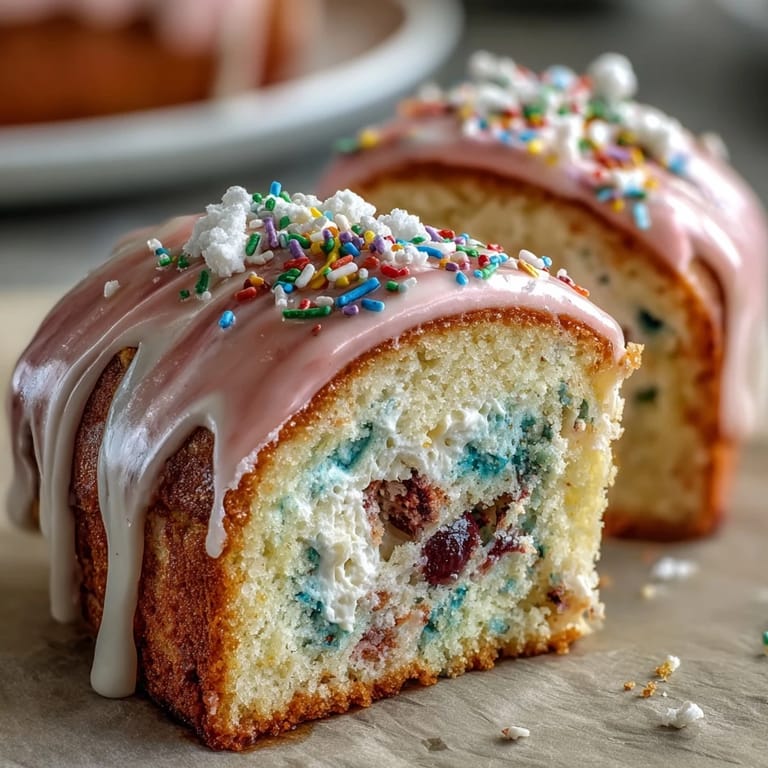
- Dollop or pipe the different colored frostings onto your cooled cake layers, swirling them together for a marbled pastel effect that looks intentional even if you're just having fun with it.
 Save
Save That cake became a tradition in my neighbor's house. Now every spring, she texts me asking if I remember the recipe, and I do—not because I wrote it down carefully, but because I remember the feeling of frosting a cake with her teenage daughter, laughing at how messy the marbling looked before it somehow became beautiful. That's the thing about this cake: it tastes like vanilla and sprinkles, but it feels like springtime and celebration and the specific joy of making something colorful together.
Why Room Temperature Really Matters
I used to think room temperature was just something bakers said to sound fancy, until I made this cake with ingredients straight from the fridge out of laziness. The batter looked separated and broken, the cake came out dense, and I felt foolish for cutting corners on something so simple. Now I set my ingredients out while I'm prepping everything else—eggs, butter, milk, and sour cream all sitting on the counter for 20 minutes while I whisk dry ingredients and line pans.
The Secret to Keeping Sprinkles Vibrant
Not all sprinkles are created equal, and I learned this when I bought the cheapest box at the grocery store for my first attempt. They bled blue and red into the batter, turning my cake an unappetizing gray-brown color that nobody wanted to slice into. I switched to jimmies from a baking supply store, and suddenly the sprinkles stayed bright and beautiful throughout baking—it's a small detail that completely changes how gorgeous this cake looks when you cut into it.
Decorating Techniques That Actually Work
The pastel swirl looks professional but it's honestly the most forgiving decorating technique—you can't mess it up because a messy swirl still looks intentional and dreamy. I've piped intricate borders that looked stiff, and I've dolloped frosting haphazardly and watched it somehow look more charming because the colors blended naturally. You don't need a steady hand or years of practice; you just need patience and a willingness to let the colors speak for themselves.
- Use an offset spatula for a smooth, modern look, or grab a butter knife if that's what you have—both work beautifully.
- If you're piping, a simple round tip lets you focus on placement rather than worrying about fancy nozzles and techniques.
- Step back and look at your cake from a distance because what looks chaotic up close often looks intentional and artistic when you see the whole picture.
 Save
Save This cake taught me that celebration doesn't require complexity—just good vanilla, vibrant color, and someone to share the eating part with. Make it for a birthday, a spring gathering, or just because the season feels like it deserves something joyful on your kitchen table.
Recipe FAQs
- → What type of sprinkles works best?
Use jimmies-style sprinkles to avoid color bleeding during baking and maintain vibrant colors.
- → Can sour cream be substituted?
Yes, Greek yogurt can be used as a substitute for sour cream without altering the cake’s moist texture.
- → How can I achieve the pastel colors in the buttercream?
Divide the buttercream into portions and tint each with small amounts of food coloring gels in soft pastel shades.
- → What is the baking time and temperature?
Bake the cake layers at 350°F (175°C) for 28–32 minutes or until a toothpick comes out clean.
- → How to prevent the cake from sticking?
Grease and line cake pans with parchment paper to ensure easy removal after baking.